You Learned to Bead.
Now Let's Make Your Beads Fly!
You Learned to Bead.
Now Let's Make Your Beads Fly!
Now Let's Make Your Beads Fly!
Part 1 gave you the foundation.
Part 2 gives you wings.
EXPAND YOUR CREATIVITY as Lyric Kinard takes you beyond the basics of bead embroidery. Build on what you learned in Bead It Like You Mean It pt. 1 and learn new dimensional beading techniques that jump right off the surface.
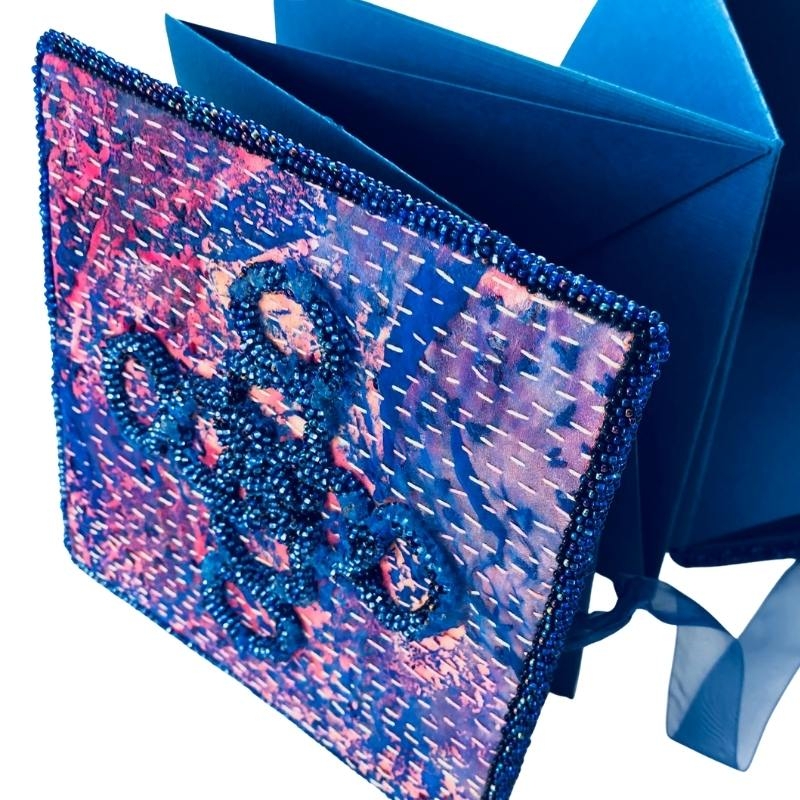
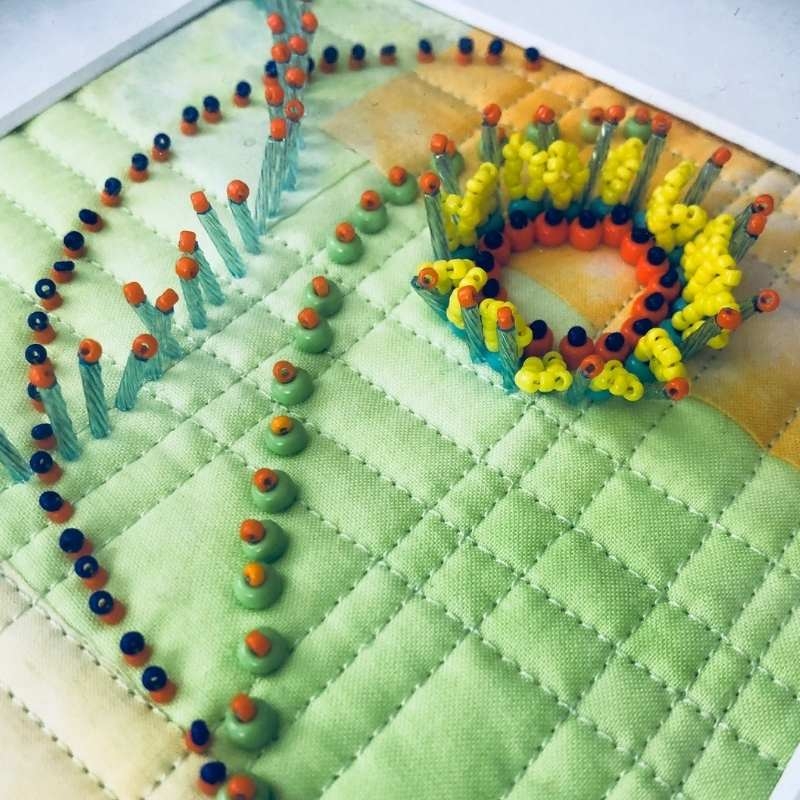
Wrap cords or walk a line of seeds over a bugle bead bridge. Try out a beautiful Gourd stitch to attach a cabochon or go right over the edge as you add beaded borders to your cloth.
WHO THIS IS FOR
Ready to go deeper?
If you’ve completed Bead It Like You Mean It Part 1, or you’re already comfortable beading on cloth, this workshop was made for you.
You know how to place a bead. You’ve felt the rhythm of it, the satisfying click of needle through fabric. Now you’re ready to push past the flat surface and into something with real dimension. Beads that rise up off the cloth. Edges that transform a finished piece into something extraordinary. Fringes that move and shimmer and demand to be touched.
For students who already feel confident beading on cloth or who have completed Part 1.
If you’re newer to beading, we recommend starting with Part 1 first , you’ll get so much more out of this course.
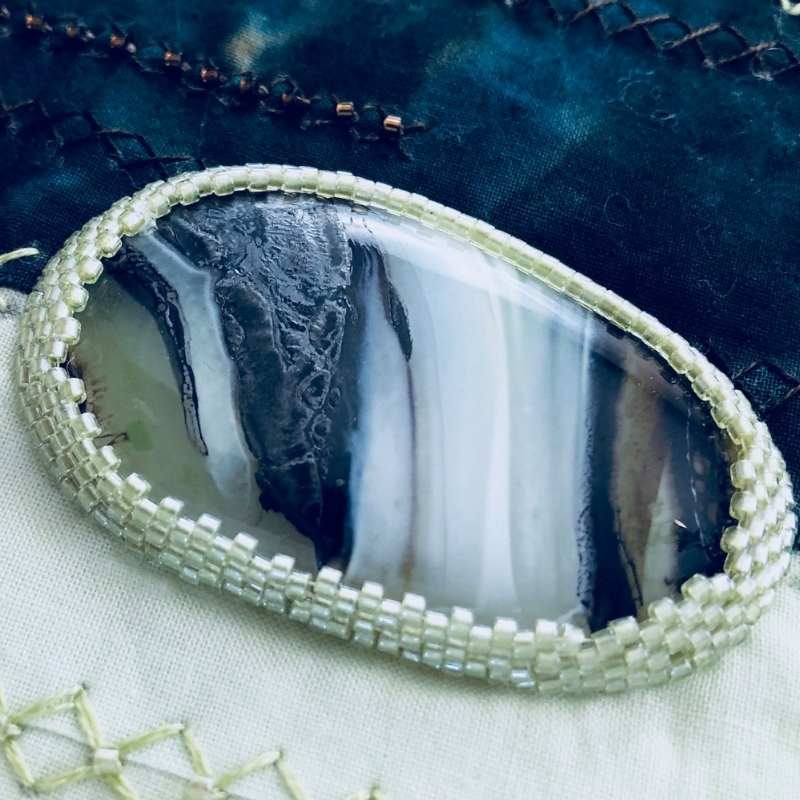
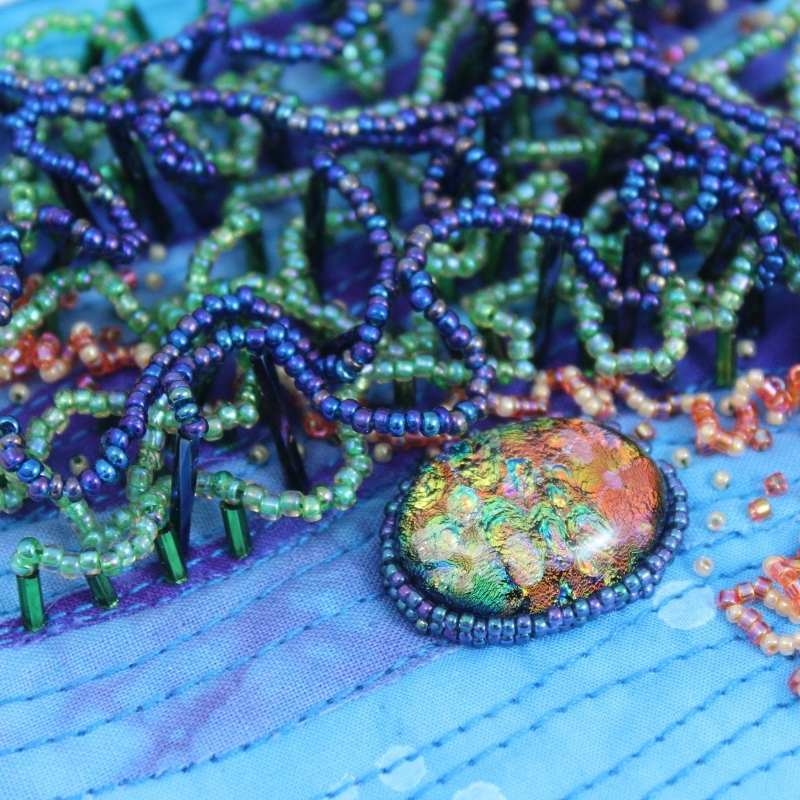
Gourd on the Ground Beaded Bezel
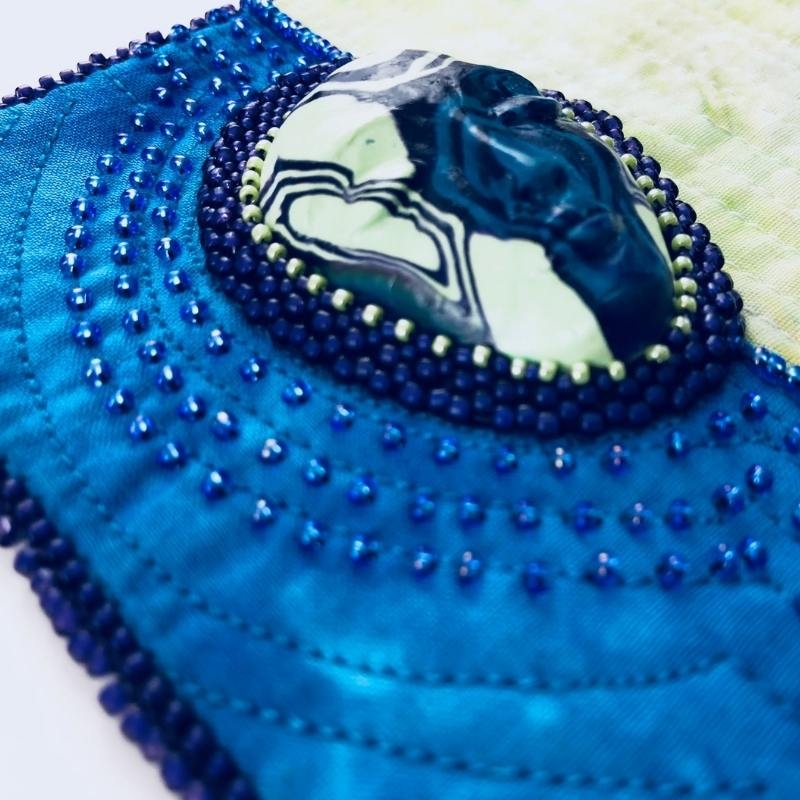
The centerpiece of this course. This advanced technique creates a gorgeous, sculpted bezel that cradles your cabochon with serious presence.
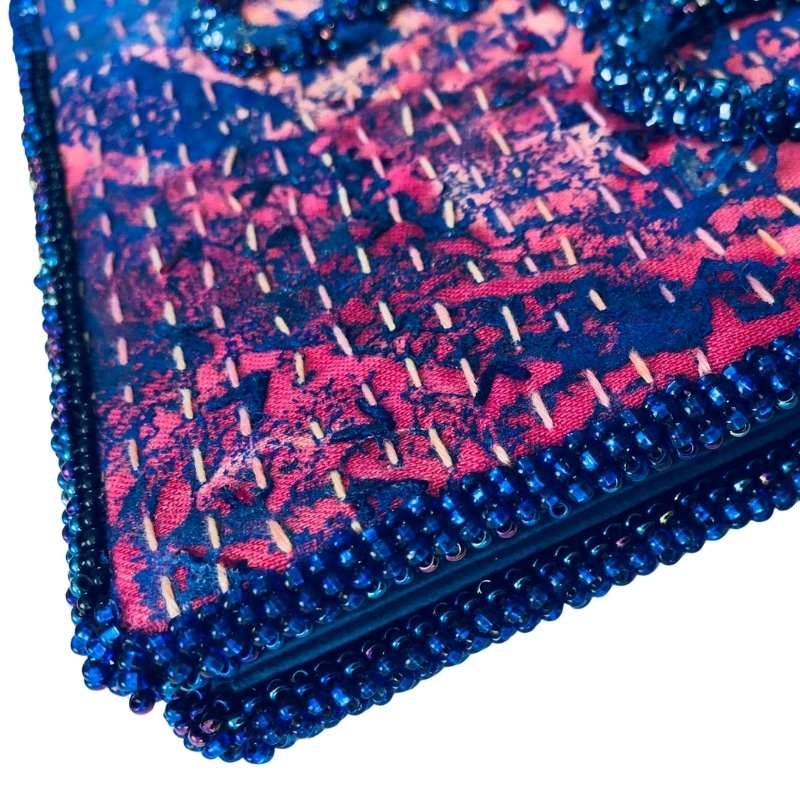
Off the Edge: Beaded Border Treatments
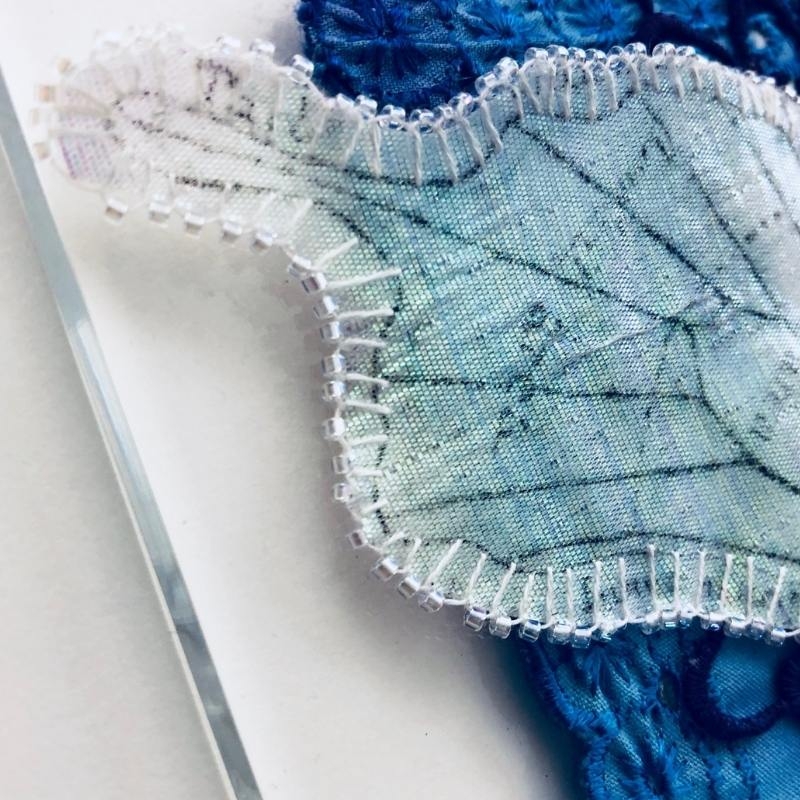
Go right over the edge of your cloth with beaded borders that transform the perimeter of any piece. Learn a simple dotted edge, a beaded blanket stitch edge, a picot edge, and a wrapped cord edge.
Funky Fringes and Playful Stacks
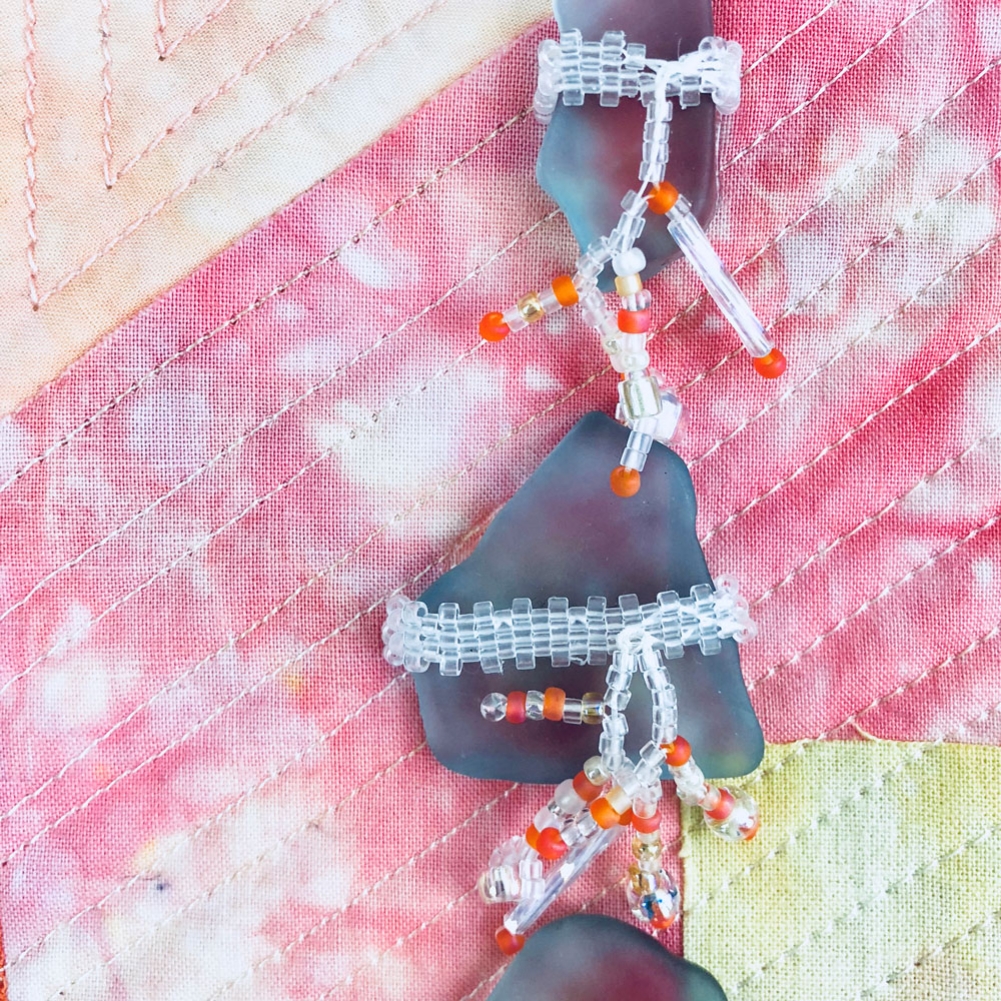
Basic fringe, looped stacks, branched fringe, twisted fringe - all the dimensional moves that make a piece feel alive. Also beaded belts and straps.
Dimensional Beadwork on the Surface
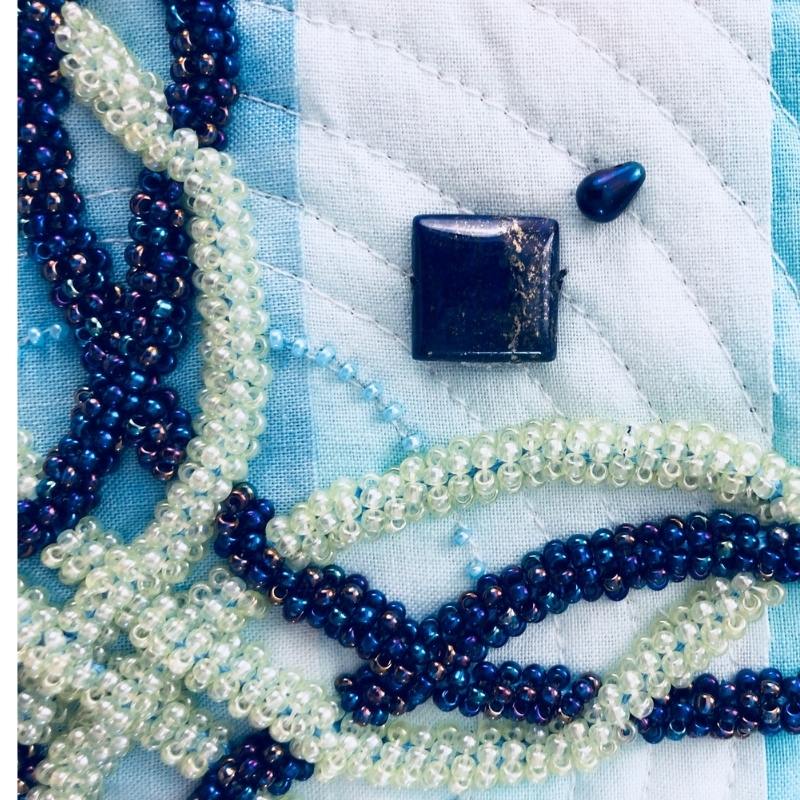
Bead-wrapped cord, beaded belts and straps, and “Beads on Stilts” - the technique of raising beads up off the cloth surface for maximum drama and texture.
Supplies from your Stash
You may already have most of this at home:
- 8" solid fabric
- 8" square thin batting
- Sharp scissors
- Container for beads - altoids tin, or very shallow small dish or piece of craft felt or suede like fabric to roll beads out onto table
- Optional - Lamp and/or magnifying table lamp
The Kit
(highly recommended but not required)
Lyric has curated a bead kit with everything you need to learn without fighting your materials. Available in the shop:
- 1 16 ct. tube size #11 Foxglove Cottage Straw Needles
- 1 bobbin of C-lon or Nymo beading thread
- 1 beautiful handmade cabochon
- 1 bag of beautiful Miyuki beads: ~40 g, size 6, 11, 15 seeds, bugles
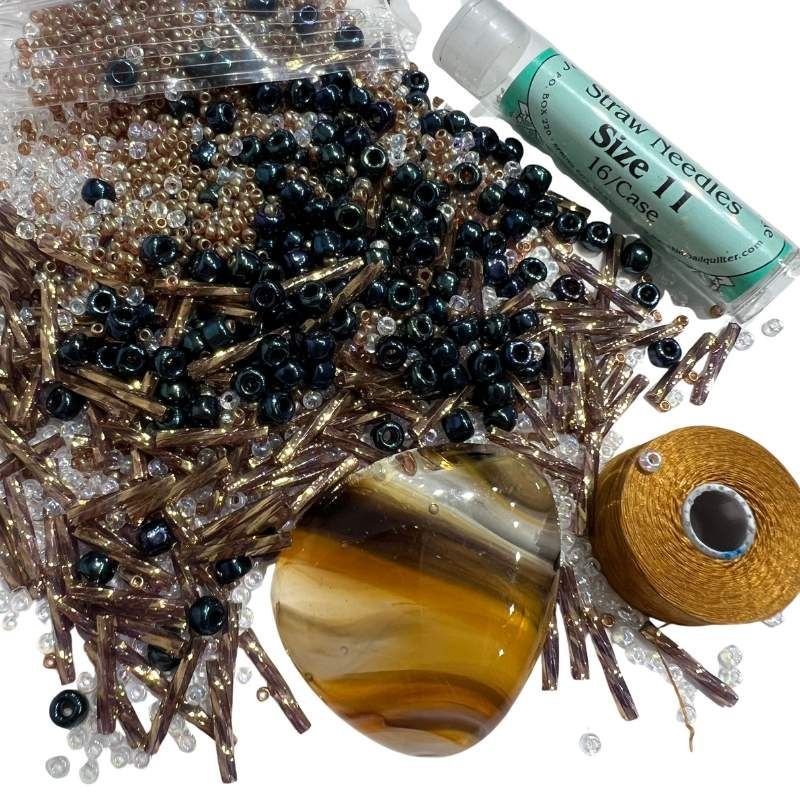
Miyuki beads are renowned for their consistency and quality. The needles go through the tiniest beads while staying sturdy enough for fabric. The thread holds the weight of a cabochon without breaking as your piece moves. The right tools make the learning so much easier.
Options!
- You don't have to make ANY project at all during this workshop. You can choose to slap a piece of plain fabric onto some thin batting and simply learn and practice the techniques.
- If you want to create a small project showcasing your cabochon and gorgeous bezel as well as using an edge treatment there will be a video in the first lesson, immediately available to you.
MEET YOUR TEACHER
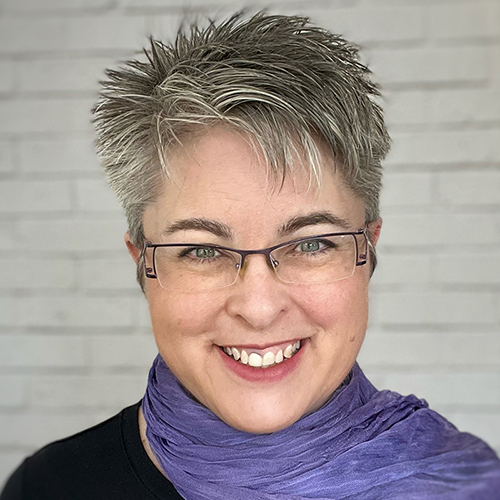
Lyric Montgomery Kinard
Lyric is an award-winning textile artist, author, and the 2011 International Association of Professional Quilters Teacher of the Year.
She’s spent two decades helping timid makers find their creative footing with warmth, humor, and a deep, unshakeable belief that the skill you’re looking for is already inside you. She transforms cloth into art in her studio, and timid spirits into confident creatives in the classroom.
You might be wondering...
“Do I really need to take Part 1 first?”
If you’ve already been beading on cloth and feel confident with the basics: running lines, placing single beads, simple techniques - you’re ready for Part 2. If you’re newer to beading, we strongly recommend starting with Part 1. You’ll get so much more out of this session when the fundamentals are already in your hands.
“Is this workshop really worth $45?”
Consider what you’re actually getting: instruction from an award-winning teacher. Answers to your specific questions, plus ongoing access to brand-new videos you can revisit whenever you need a refresher. Most workshops of this caliber run $75–150. At $45, this is one of the best investments you can make in your creative practice this year.
“I’m nervous about the Gourd Stitch. It looks really complicated.”
That’s exactly why we spend most of our live time on it together. Lyric walks you through every single row, step by step, at a pace that makes it feel achievable. By the end of class, you'll have done four rows, and doing it once is what makes it yours forever.
“Why don't I get lifetime access?”
Because nobody can predict how long ANY of us will live. I plan to keep the course up until I stop teaching - so "long-term" is a more legally accurate word. You have guaranteed access for one year.